Layout of media plan reports
On the reporting page, you can use the drop-down menu on the right of the "Layout" button to access the list of your stored profiles, in order to change the table layout. When the program starts, the table layout defined as Standard is loaded.
In the Layout – Media plan window, you specify your desired analysis values. These presets apply equally to both media exposure likelihoods and advertisement exposure likelihoods. Enter the number of significant figures on the "Digits" line.
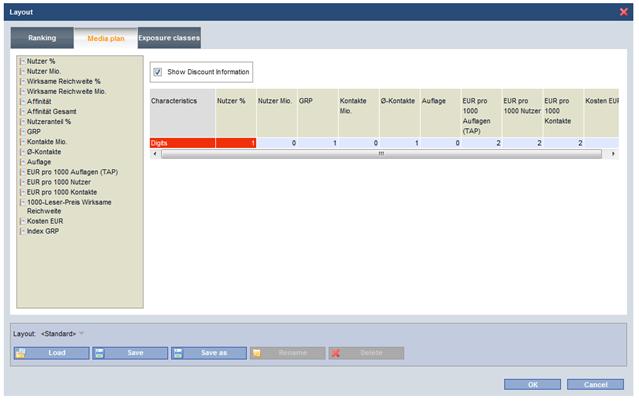
Media plan layout screen
Displaying discount level
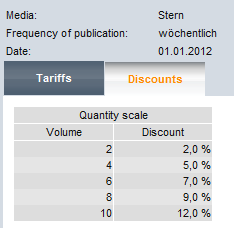
Discount information can be read at any time during the planning process.
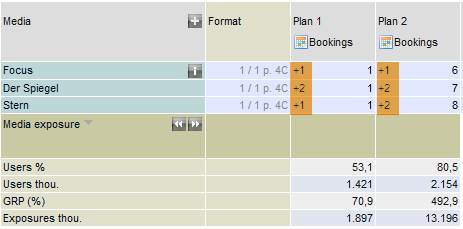
The blue number specifies how many additional bookings are necessary to reach the next discount level (volume pricing is factored in).
|
|
Example – "Stern": With 1 booking, 1 extra placement is needed for the next discount class, while 2 are needed with 8 bookings.
|
| |
|
|
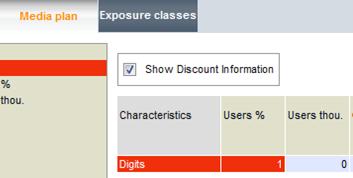
On the media plan layout screen, the display can be deactivated using the option "Show Discount Information".
| ||
Defining exposure classes
Up to 36 exposure classes can be defined for calculating exposure distribution in the media plan analysis.
The Allocate button can be used to set the Steps and the Upper bound. The upper bounds can also be entered directly (and deleted) in the window. Exposure classes are automatically adjusted to any changes in upper bounds.
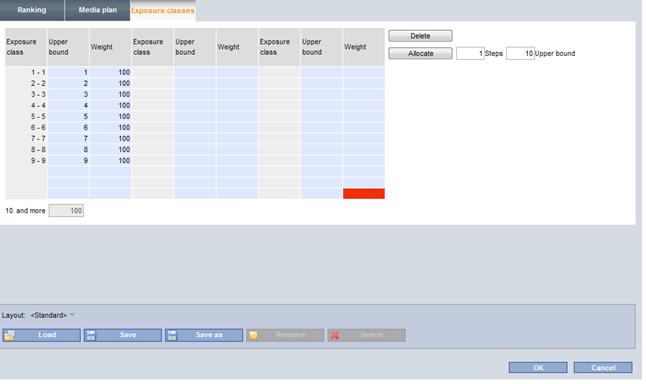
Defining exposure classes
The definition of weightings for the efficacy curve is made on this screen. In contrast to the calculation of normal reach, the calculation of effective reach takes into account the evaluation of exposures. If you set the weightings for Class 1 to 6 exposures to 0, for example, then the calculation of effective reach will include only those persons who report 7 or more exposures with the media of the media list.